Vegan Lemon Cheesecake.

Noms!

I remember my Grandma once telling me that as you get older time gets quicker. I think I was about 9 or 10 at the time and didn’t fully appreciate just what she was saying.

I get it now.

I really do feel like time is getting much faster and the years are passing by at an unprecedented rate. I’m not sure if it’s because as an adult (and I use the term adult loosely) you have more responsibilities and stuff going on that the days just fly by or if it’s something else.

Either way, it’s October and that’s freaking me out a little!

My eldest nephew is turning 3 in a couple of days and in a few days his daddy will also be celebrating his birthday and he is well and truly on his way to getting seriously old too.

I’ve got exams coming up (again, freaking out a little) and will soon be finished with my first semester of uni. Yes!

I truly understand why people get all nostalgic now too – granted, I’m only 25 (and apparently for the better part of this year I was convinced I was still 24 and writing and telling people this… whoops!) but wow, I’m already caught up in reminiscing about the good old days in the old school yard…

…I guess what I’m trying to get at is………..

…actually, you know what, I’m not really trying to get at anything. Except life goes by pretttttty bloody fast… (insert a couple more cliches here) and you deserve to eat good food, have fun and enjoy stuff without too many rules!

IMG_8398

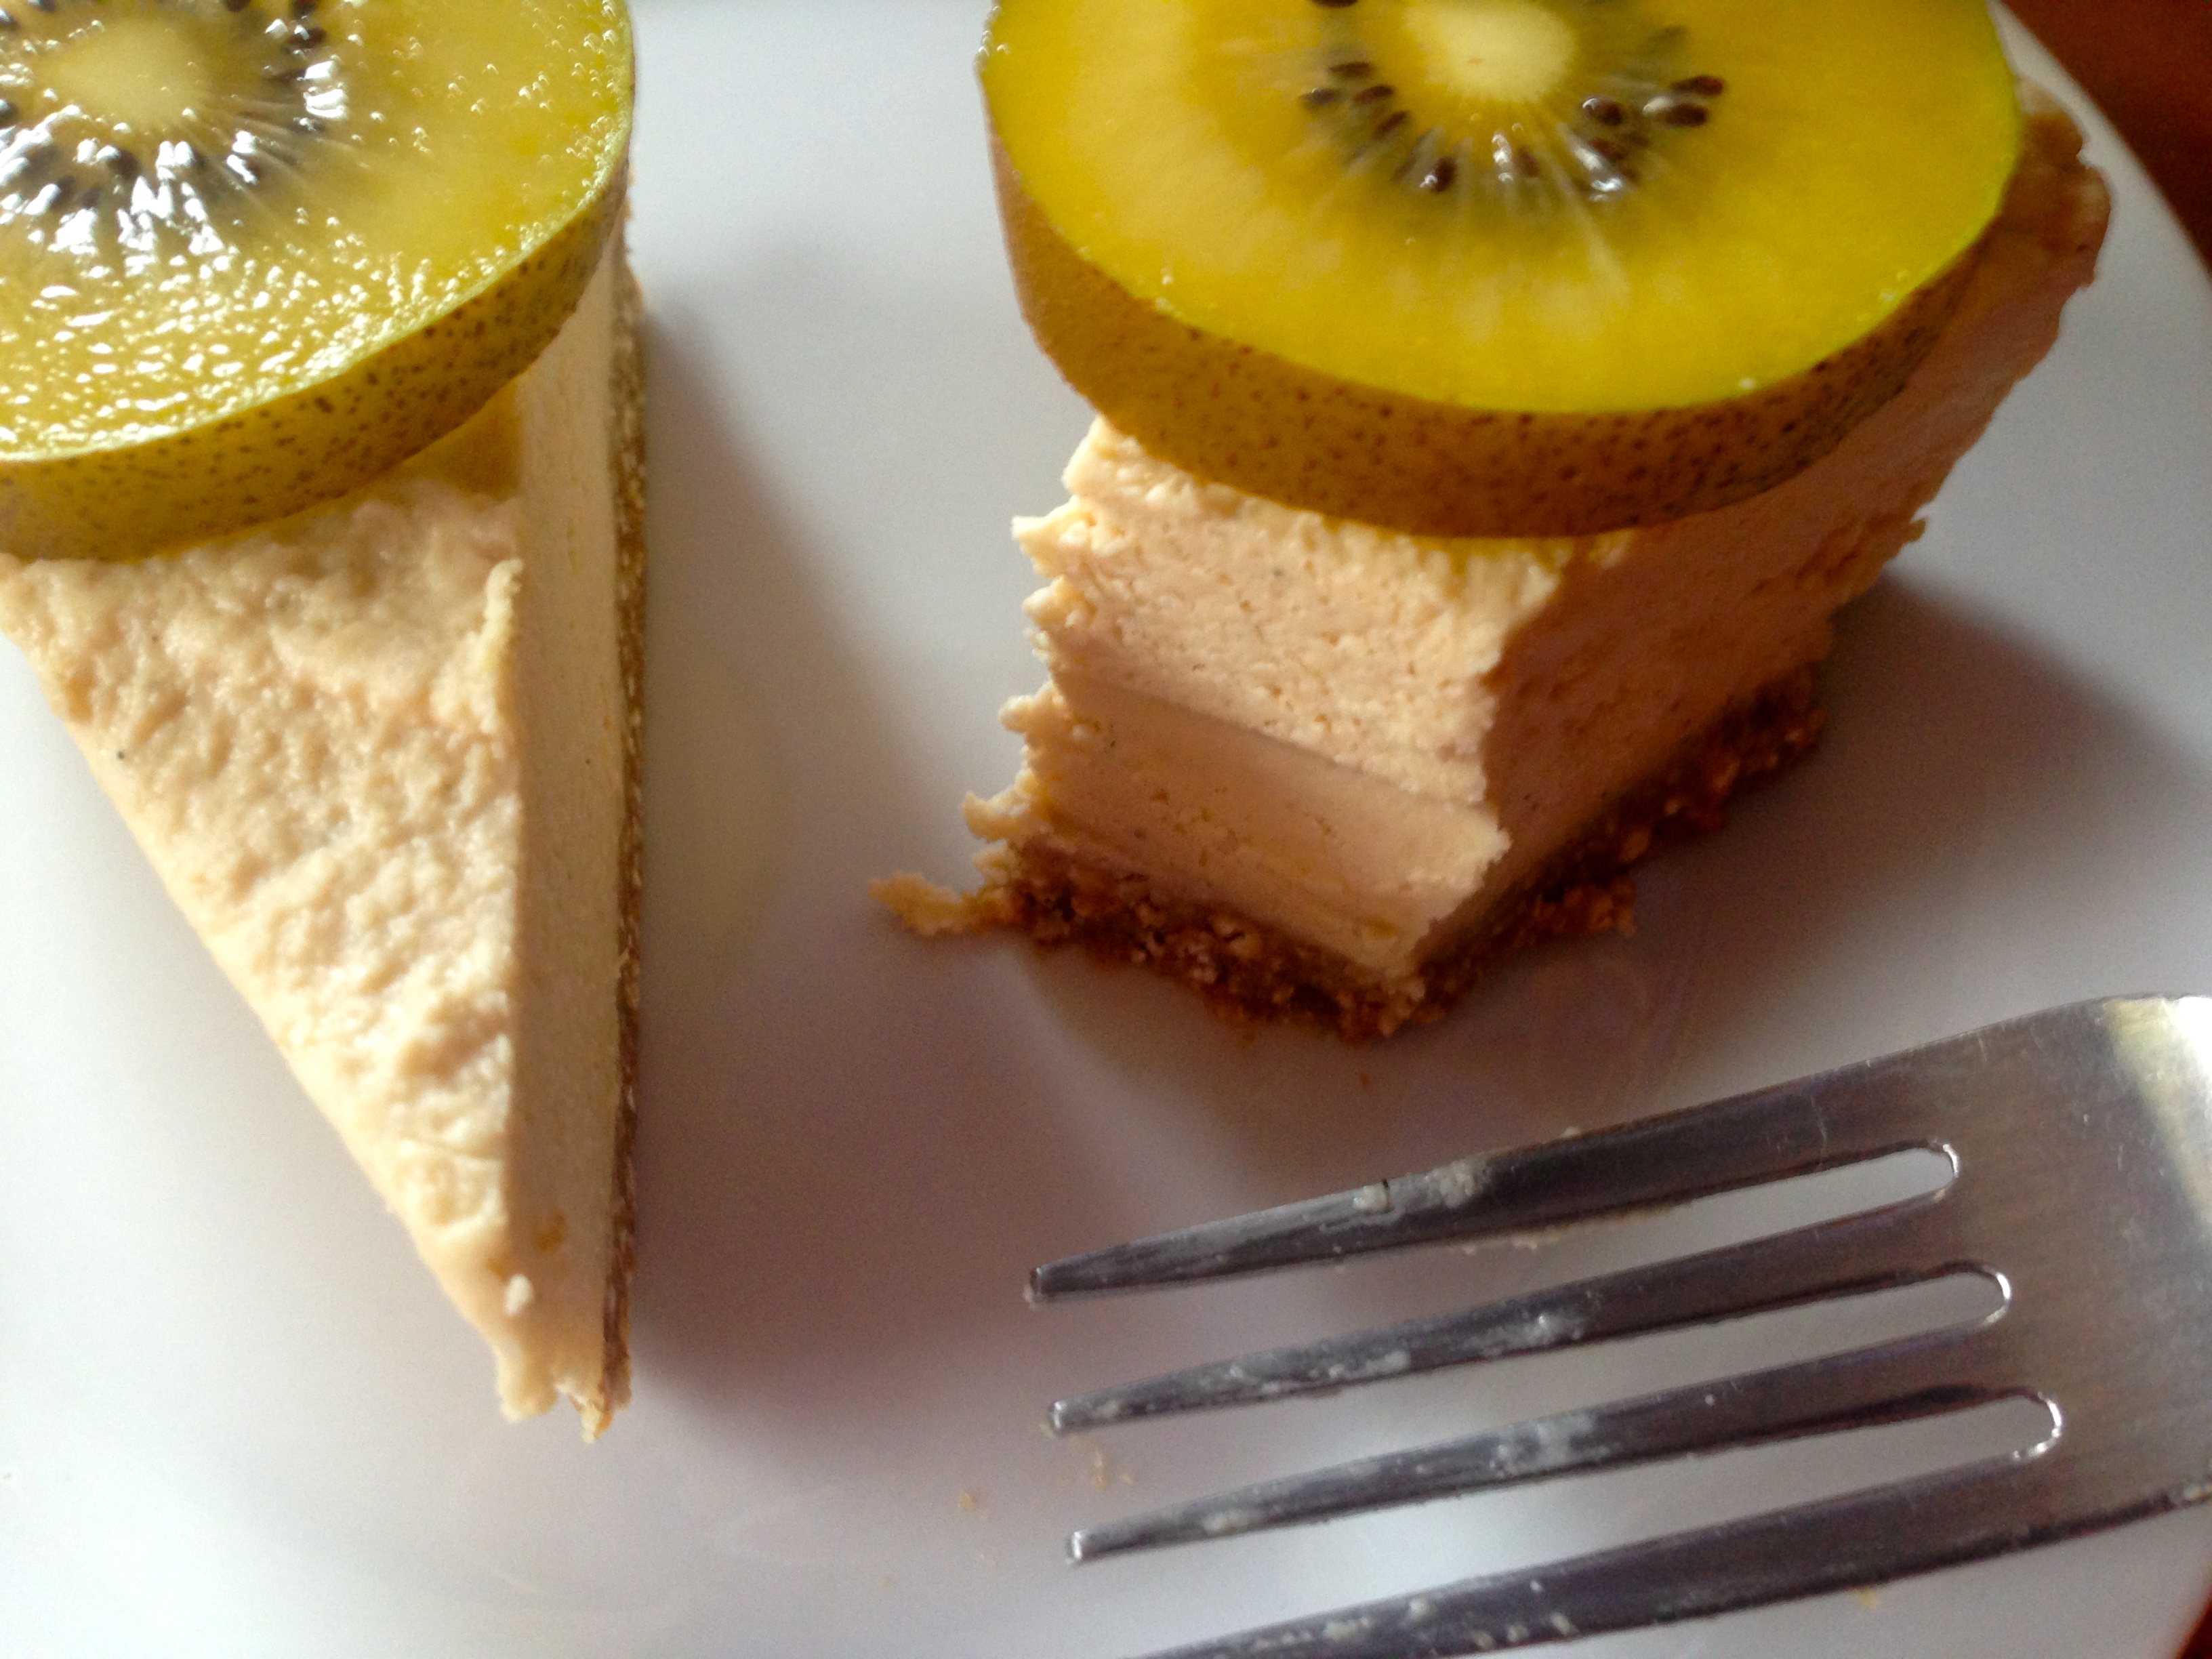
My mum makes a traditional lemon cheesecake that gets requested every year for Christmas… I guess this is my take on it.

The bits and pieces

Base:

2 C buckinis or buckwheat

1 C dates

Pinch of salt

Filling:

3 C raw unsalted cashews soaked for a few hours then drained

juice of 2 lemons

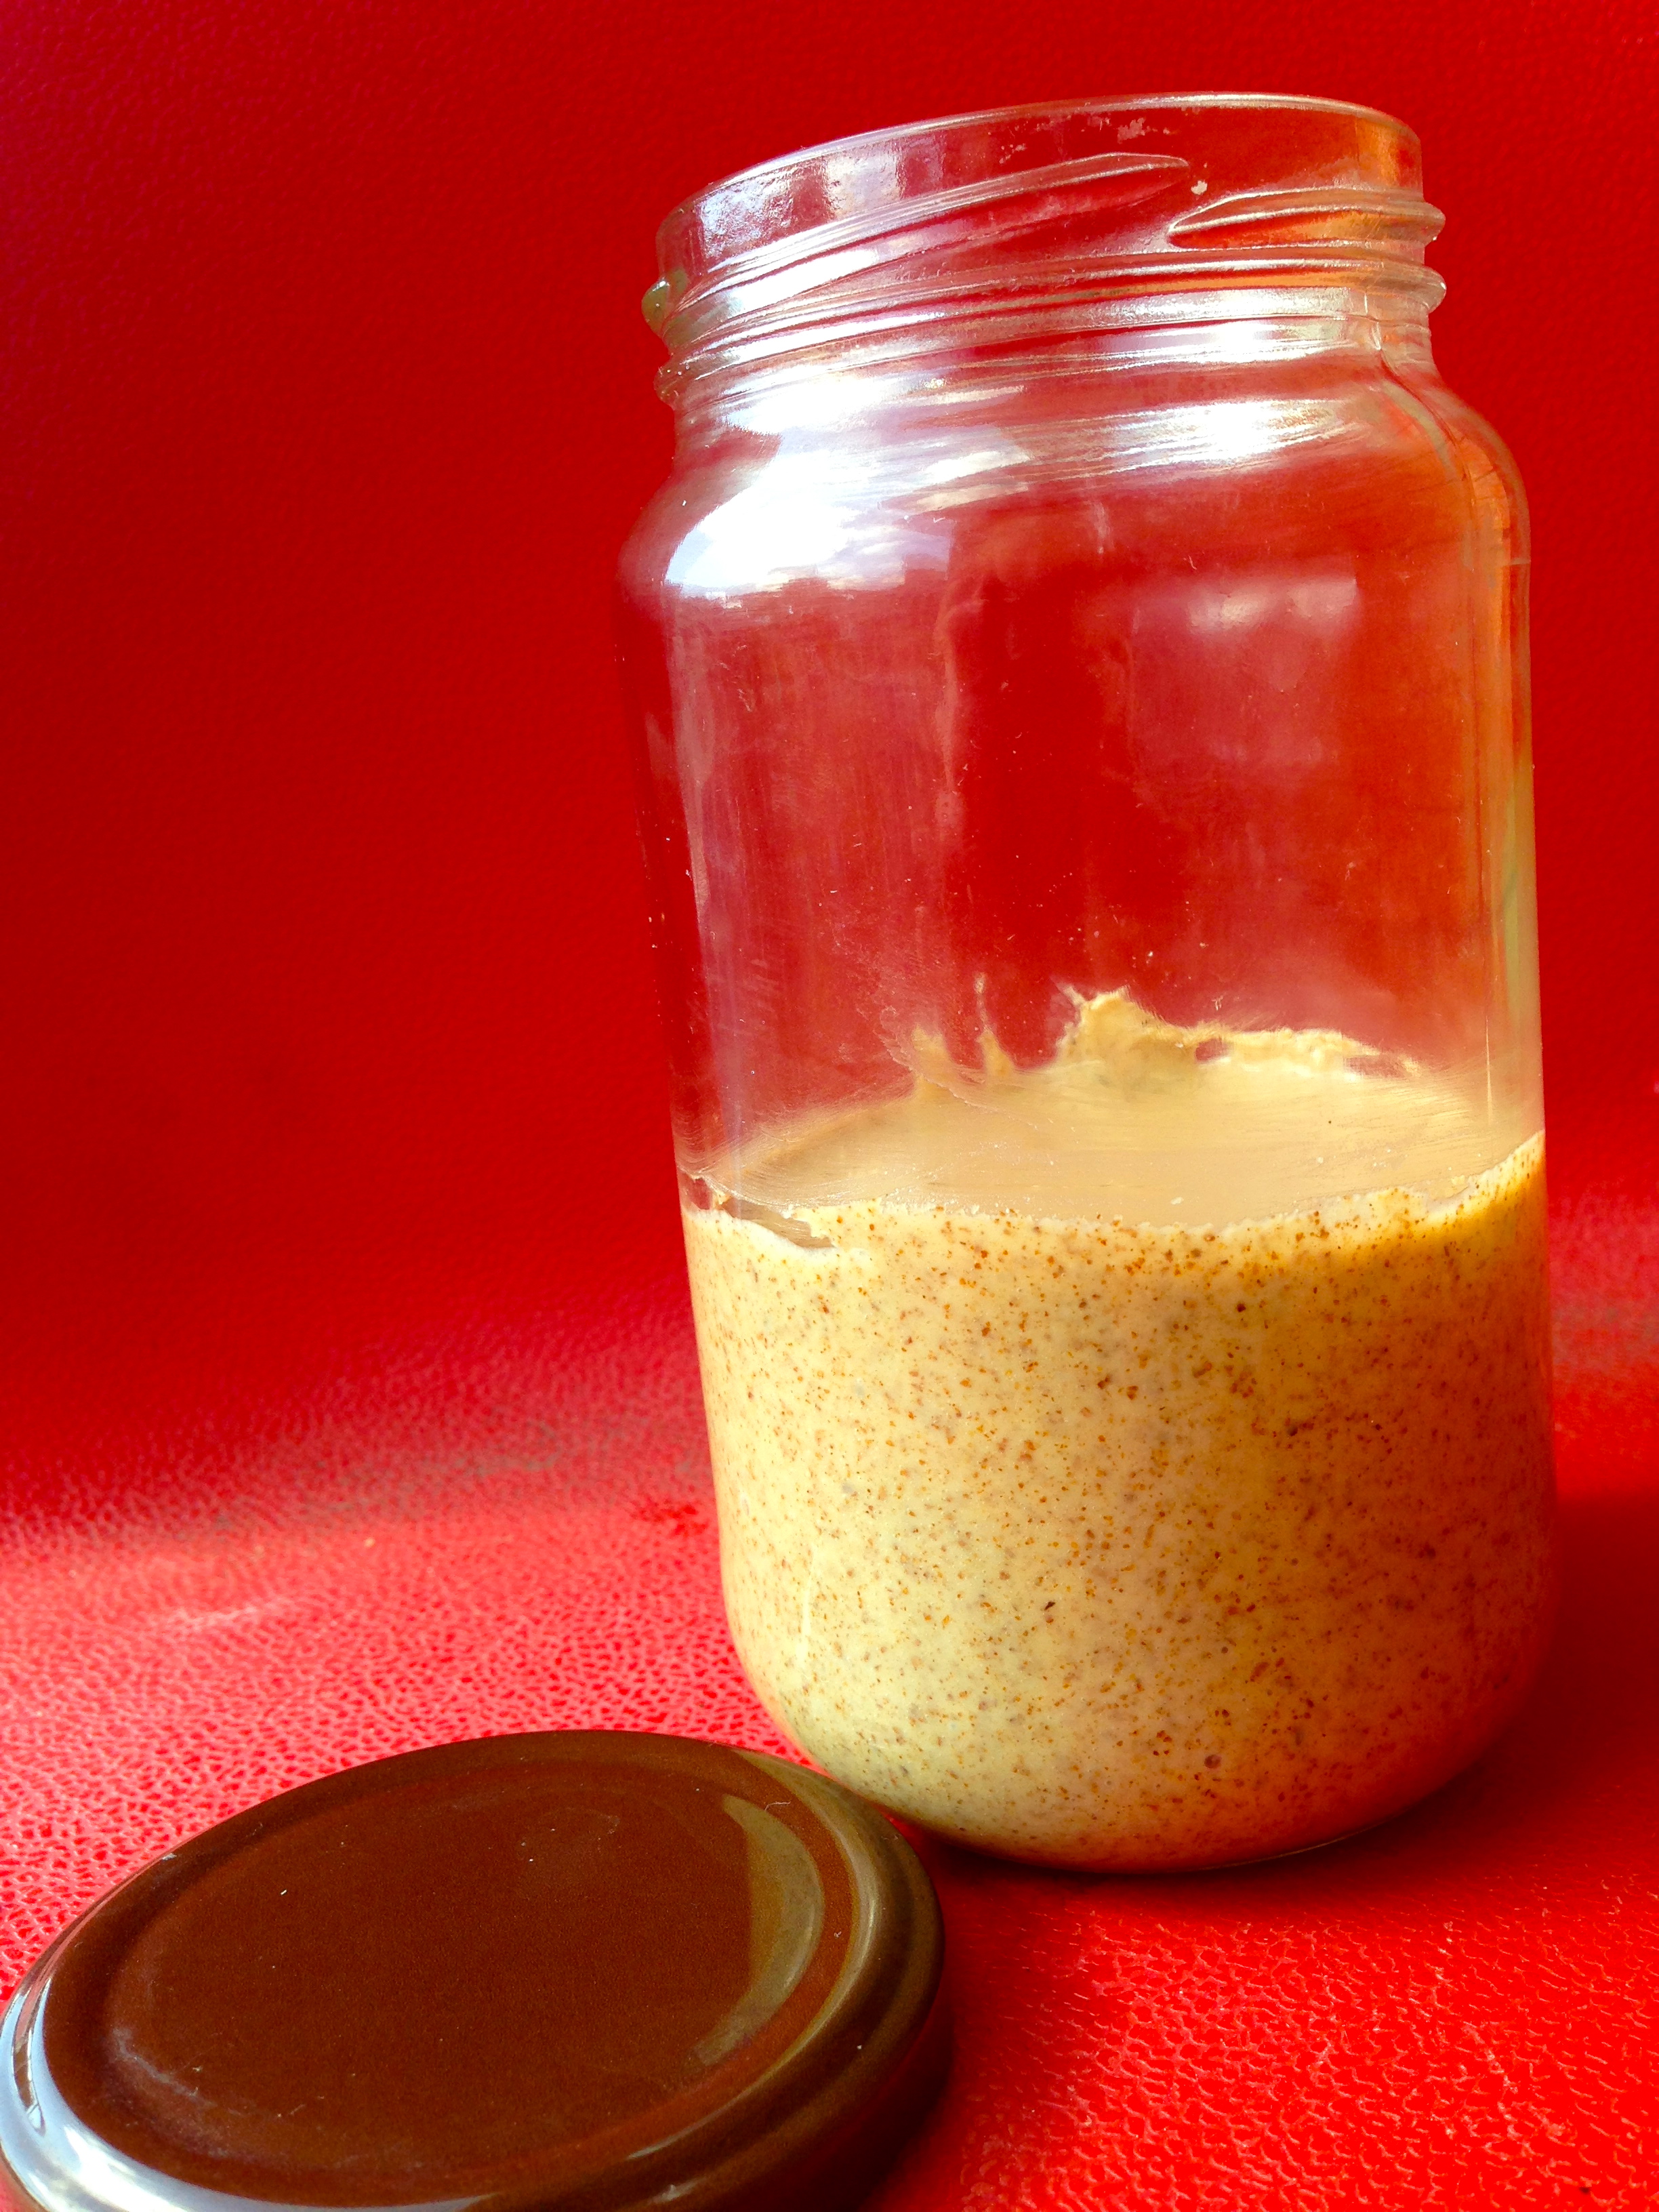
1 C coconut spread OR 1/2 C coconut oil + 1/2 C maple syrup

IMG_8395

( I made it with the coconut spread but think I will just use the maple syrup combo next time)

2 tsp organic vanilla extract

1-2 Tbsp unsweetened almond milk

IMG_8440

For the base, pop buckinis, salt and dates in food processor and process until you have a smooth paste.

In a tart case or similar, line with cling wrap and smooth base into tin. Place in fridge while constructing filling.

Give your processor a quick rinse, pop all ingredients for filling in food processor and process until mixture is smooth, scraping the sides occasionally. This will take a good 15-20 minutes to get it to the consistency you want.

Taste test at this point and add more sweetener of choice if desired.

Remove base from fridge, pour filling on top and smooth over with a kinfe or back of a spoon.

Place back in the fridge for a few hours to set.

Remove from tin and serve with fresh fruit.Chhhhhhheeeese but not!

Enjoy!

Baked Sweet Falafels.

Baked!

Back to reality… but, it’s not all bad.

I watched two of my favourites get married – congratulations Jessie and Troy!

IMG_7427

I’ve also started studying a Bachelor of Clinical Exercise Physiology and maths and statistics are kicking my arse! Along with this, because I’m not busy enough, I have decided to start training for some triathlons over summer.

Excitement!

My good mate Russ encouraged me to sign up for an Olympic length so I’m well and truly throwing myself in the deep end with this one. I’m a little bit concerned about my ability (or lack thereof) to swim 1.5K… if I drown – Russ, I’m blaming you!

Not a bad view.
Not a bad view.

He’s also got me into road riding, and hooked me up with a SICK bike. Again, I’m a little concerned about my ability to ride 40K after a massive swim… but hopefully training will pay off. I have no doubt that I will stack it at least once before these events in Summer… without a doubt, I am THAT kid.

Riding has taken me by surprise though, I’m a little bit in love! I like that you can see so much more riding than when I run. It’s also a good way to give my leggies a break from pounding the pavement.

I’ll be sure to keep you posted with my training successes (and failures!). First race is in December. EEEK.

I made these “falafels” as I was trying to put together a vegan cookie with no oil… They turned out really well. They really are just a sweet little morsel of goodness. Perfect pre or post ride!

Again, you could play around with what you put in them. And you could substitute whole almonds for almond meal or pop in some cocoa and hazelnuts… I will be trying that combination next.

Apologies for the pictures too – I seemed to consume all of these before I got any decent pictures… story of my life.

IMG_7539

The bits and pieces

1 can chickpeas, drained and rinsed

1 cup almonds

15 dates

2 tbsp coconut flour (could use desiccated coconut)

1 tsp vanilla essence

1 tbsp cinnamon

boiling water


Pre-heat oven to 150°C and line a baking tray with baking paper.

In a small bowl, cover dates with boiling water. You want the water to be about 1cm over the dates. Let sit while you blend other ingredients.

Using a food processor, blend chickpeas on high for about 5 minutes or until they form a smooth paste. Add cinnamon and almonds and process for another couple of minutes until almonds are in small chunks.

Throw in the dates and water and blend until they are incorporated. You don’t want it too smooth. You still want chunks of dates and almonds.

Roll mixture into small balls and place on prepared baking tray. Press down with a fork and pop in the oven for about 25 minutes. Make sure you don’t over bake them – they’ll be dry and yucky otherwise.

Remove from oven and let cool for 5 minutes before digging in.

These little guys should be stored in an airtight container in the fridge.

Enjoy!

Homemade Almond Butter.

IMG_4973
I managed to get my hands on TWO food processors over the weekend. Alright!

I’ve been putting off purchasing one for a while now – I’ll add it to my cart, then when I’m about to click finalise order I chicken out.

It’s a big commitment.

I think I knew that I would be in loads of trouble once I invested in one. Oh the possibilities!

So after my brownie antics (the antics being me having to leave the house and messaging Lisa to tell her that when she got home she had to eat some brownie – self control, what is that crazy thing you speak of?!) I decided to make some homemade almond butter.

I have some sort of nut/seed butter everyday. Mainly dolloped on my porridge but I also branch out and have it on toast sometimes too.

This recipe is super dooper easy and if you have a food processor you should really start making your own nut butters. It is significantly cheaper and you can choose higher quality nuts! Winning.

In other news – I have received a whopping $1333 in donations for my fun run fundraiser – which is THIS SUNDAY! EEEEK!

I am overwhelmed by the generosity – I had a HUGE donation from an anonymous source. They obviously don’t want to be known but if you are reading this – THANK YOU! And thank you to everyone who has donated and shared my page.

You can still donate up until Monday May 20 – by clicking here.

My race pack arrived last Friday too! I have had a bit of a cold/flu this week so have been taking it easy but going to head out for a nice gentle run tonight to make sure I’m on track for Sunday. If anyone is around Manly – pop over and cheer me on! I’m pretty sure I’ll be going solo as I have a feeling my sissy’s bubba might make a grand entrance very, very soon!

IMG_4906

This recipe could be changed around heaps to suit your mood – add in a touch of maple syrup and cinnamon and top on some pancakes or slather on a piece of toast with shredded coconut. I also had a dollop of this with a couple of dates last night for dessert. Delicious!


The bits and pieces

2 cups raw almonds


Depending on the strength of your food processor – you might want to roughly chop the almonds before adding them to the processor.

Blend on high for about 15 minutes. Stopping intermittently to scrape down the sides.

See pictures below!


Step 1 - add almonds
Step 1 – add almonds
step 2 - process to a fine meal.
step 2 – process to a fine meal.
Step 3 - it will come together like this, don't panic. Keep processing it'll soon be a delicious melty butter!
Step 3 – it will come together like this, don’t panic. Keep processing it’ll soon be a delicious melty butter!
Almost there!
Almost there!
Mmmm buttery goodness.


Scrape out and store in an airtight container – it doesn’t need to be refrigerated! I sterilised old tahini jars by washing them and putting them in the oven for about 10minutes at 100ºC. Remove and let cool before adding almond butter.


IMG_4970